How I Changed My Skutt Firebox 8x6 LT Kiln Thermocouple
Hey people of the internet! The day finally came — it was time to change my kiln’s thermocouple. There’s no worse feeling than expecting your firing to finish, only to check on it and see the dreaded “tC FAIL” error code.
I bought my Skutt Firebox 8x6 LT kiln last year (March 2024) and the thermocouple busted early June 2025. It was looking like it was holding on by a thread for a few months and I’m surprised it lasted as long as it did.
The Firebox is my first ever kiln that I’ve owned (and operated) so I had no idea how to repair it at all. Fortunately when I purchased the kiln new it already came with a spare thermocouple. The thought of replacing it myself seemed scary, but I read online that if you can use a screwdriver, then you can replace a thermocouple.
That gave me all the courage I needed! So, of course, I turned to Youtube. I found this video by Penny Pottery that gave a very helpful guided tutorial. If you’re a visual learner via video steps, then definitely watch that.
Just a note for the users of the Skutt Firebox 8x6 LT — after I watched Penny Pottery’s video, I thought I should double check with an official Skutt tutorial video. I watched the generic video for larger kilns (from nearly 20 years ago!) and I ended up unscrewing things that shouldn’t have been unscrewed. Don’t be me and unscrew the entire football-shaped ceramic piece that holds all the wiring in place. I was very unhappy after I realized that was wrong and had to line everything up again.
Anyway, as I went along replacing my thermocouple I documented the process. I printed pictures of every step, printed them on photo sticker paper, and stuck them all in a notebook. I wanted to share my process with all of you in case it’ll help in any way. I am not an electrician or an expert at repairing kilns. If you’re uncomfortable tackling this on your own, call Skutt customer support.
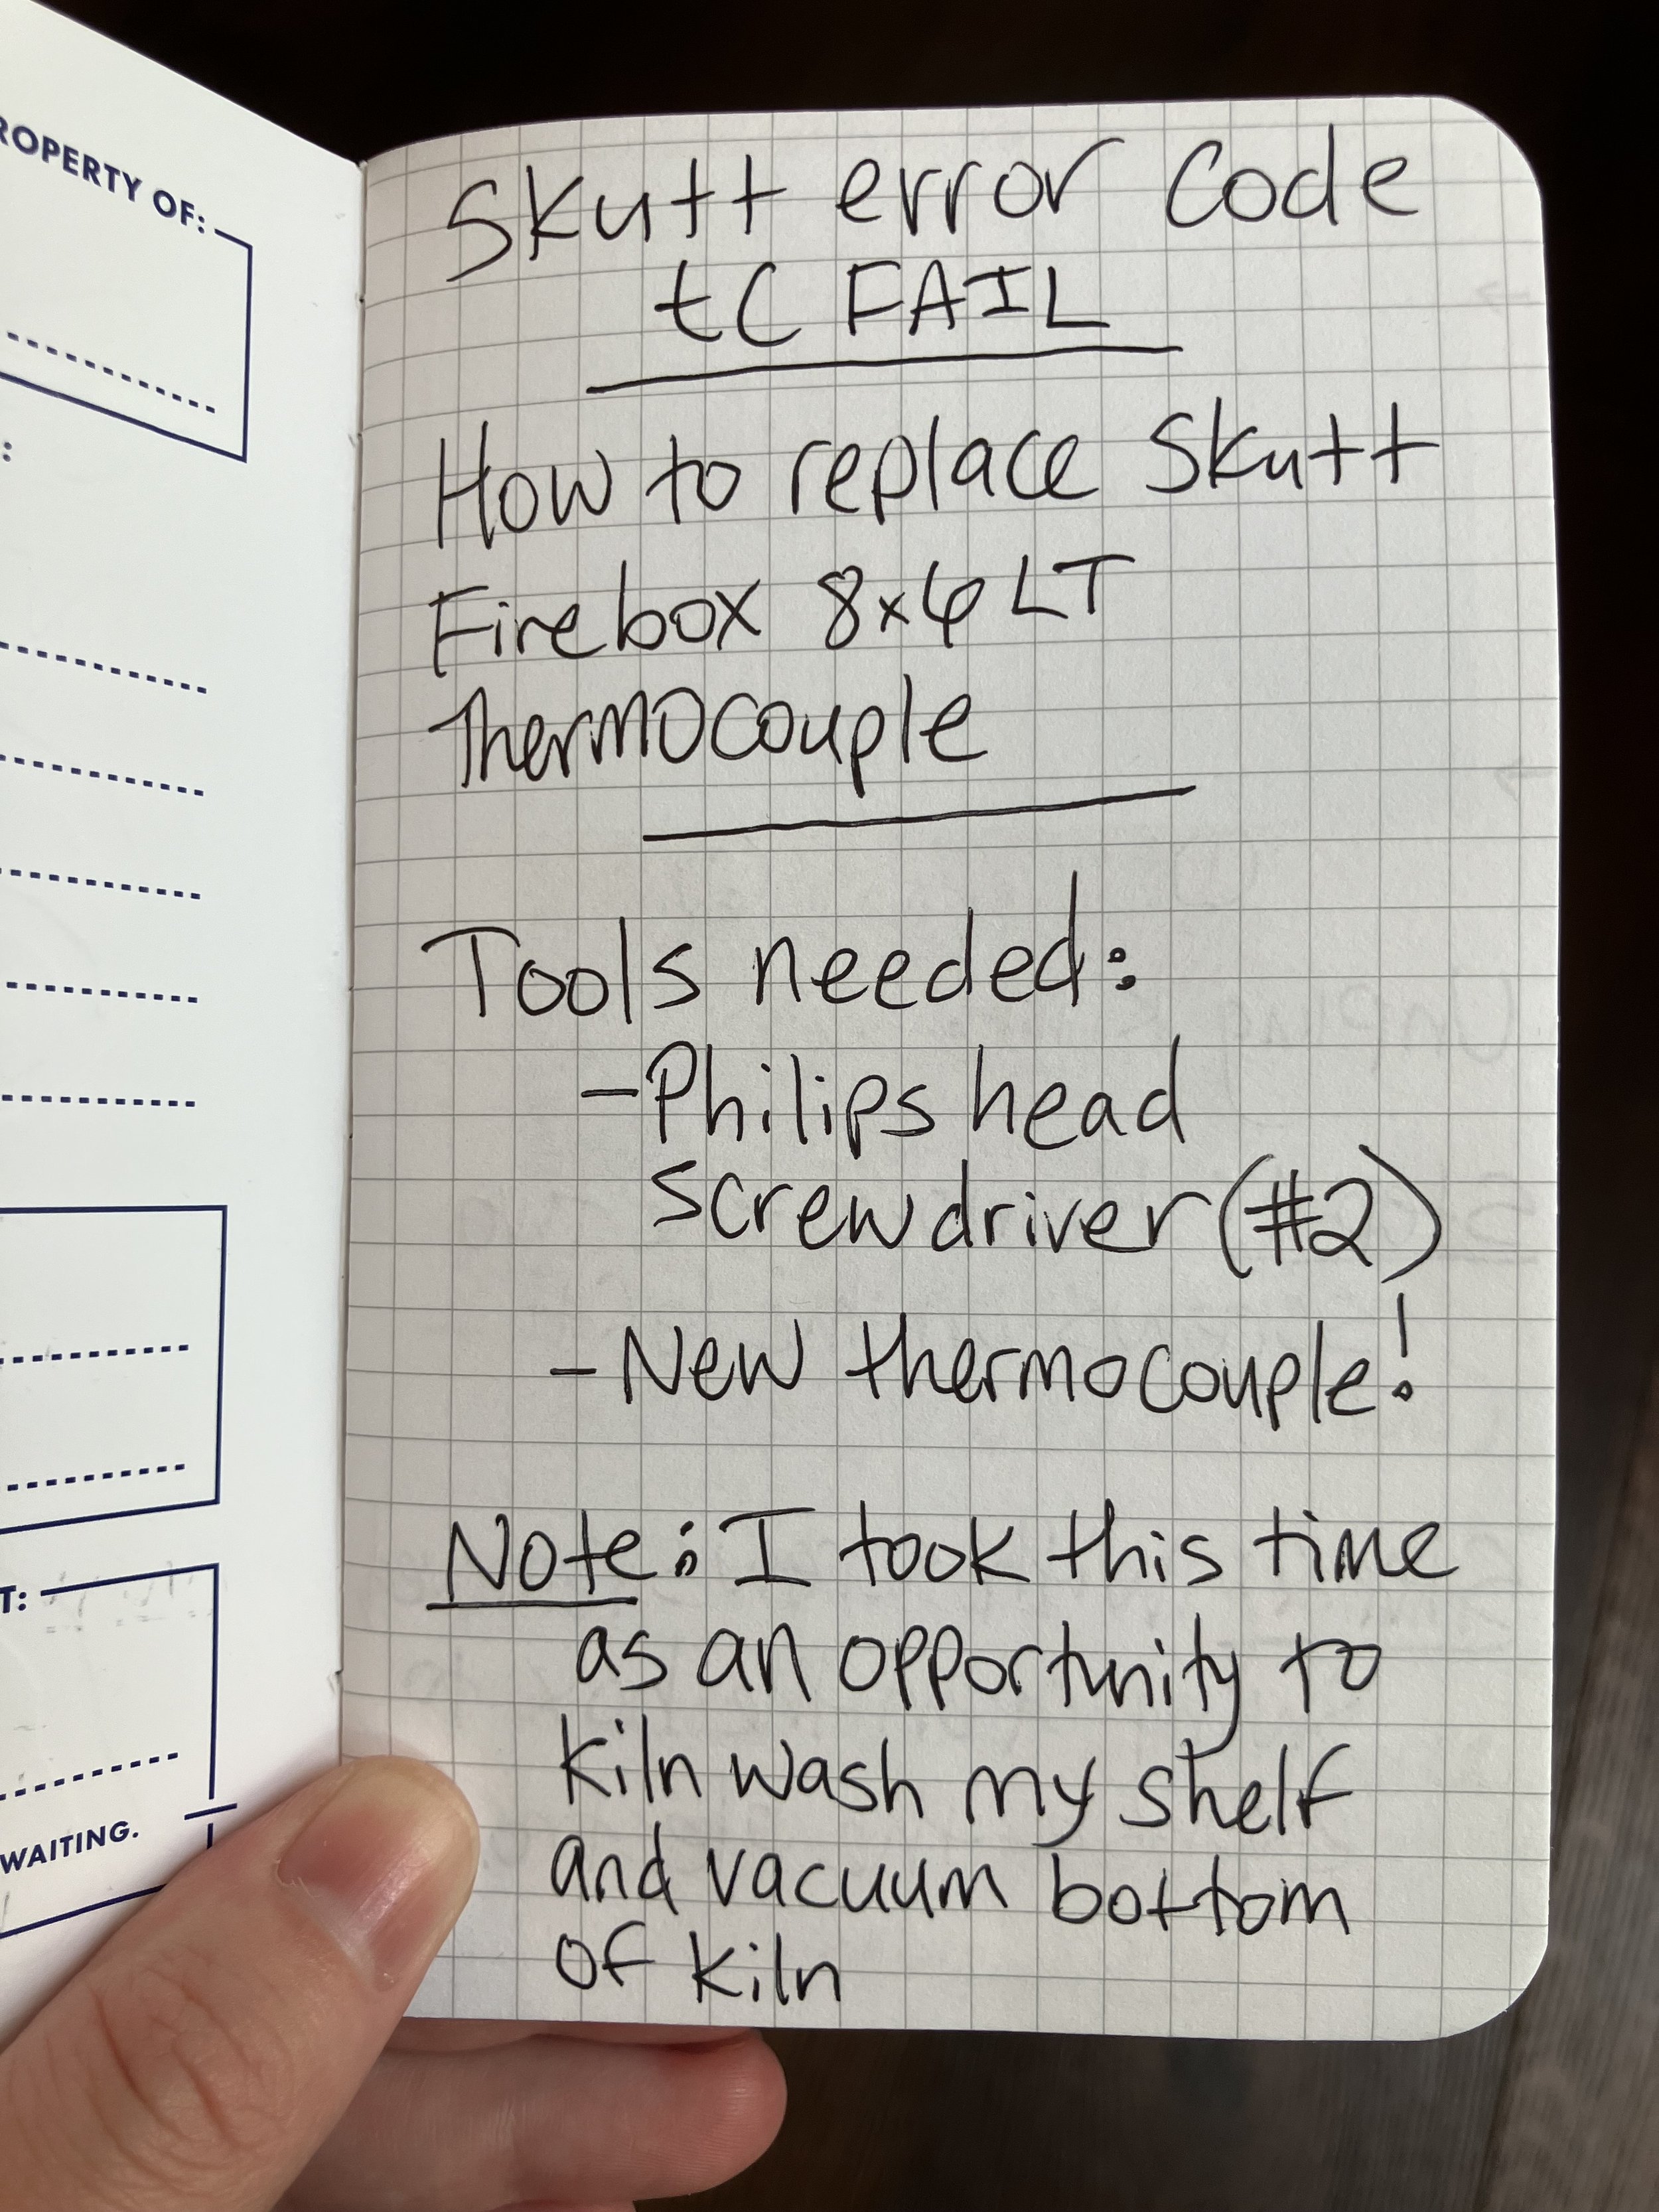
Skutt kiln error code tC FAIL — How to replace the Skutt Firebox 8x6 LT mini kiln thermocouple.
Tools needed:
Philips head screwdriver (#2)
New thermocouple!
Note: I took this time as an opportunity to kiln wash my shelf and vacuum bottom of kiln
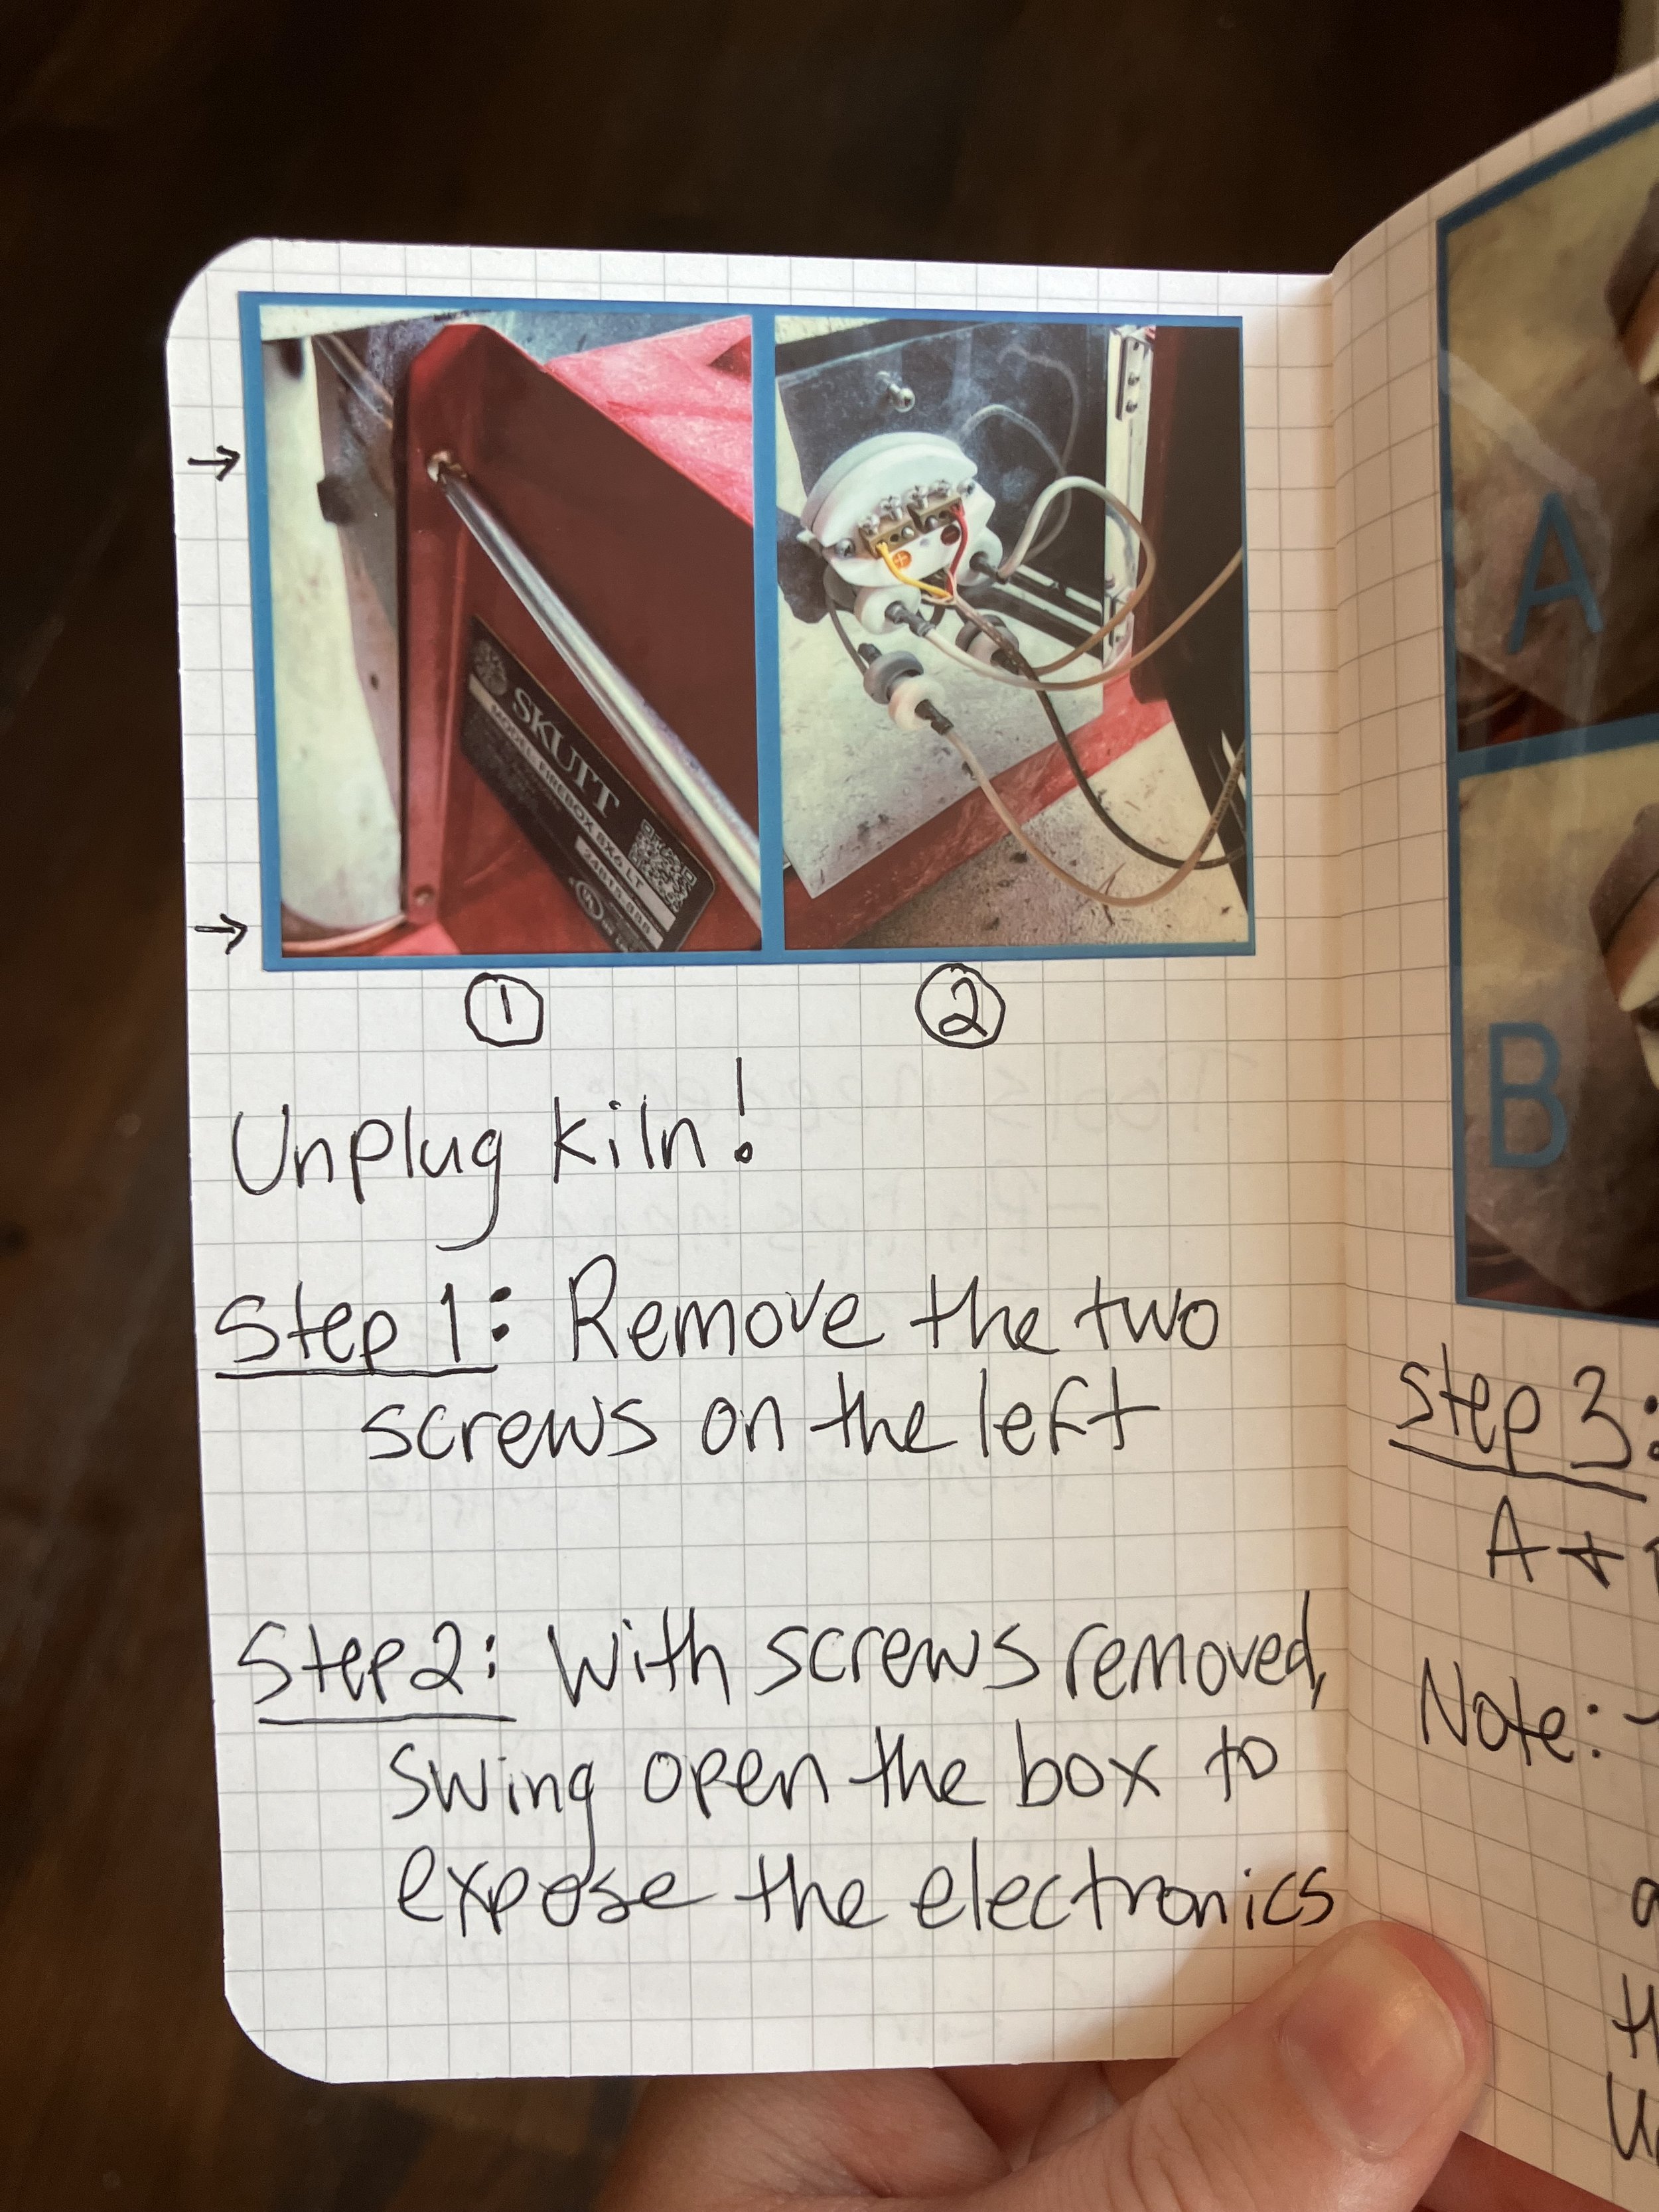
First, be sure to unplug the kiln.
Step 1: Remove the two left screws on the red box. Set them aside.
Step 2: With the screws removed, swing open the red box to expose the electronics inside.

Step 3: Remove screws A & B (pictured), which are the two middle screws between the colored wires. Set them aside.
Note: The screws were tighter than I thought they would be.

Step 4: Use the screwdriver to gently push out the old thermocouple.
Step 5: Carefully remove the old thermocouple.
Notes for Steps 4 & 5:
The old thermocouple broke into many pieces when I took it out.
Make sure to take out all of the tan/white ceramic pieces. There are four (4) very small pieces that went flying.
Use this time to vacuum again since some of the broken thermocouple pieces flaked off into the kiln.
Time to handle the brand new thermocouple!
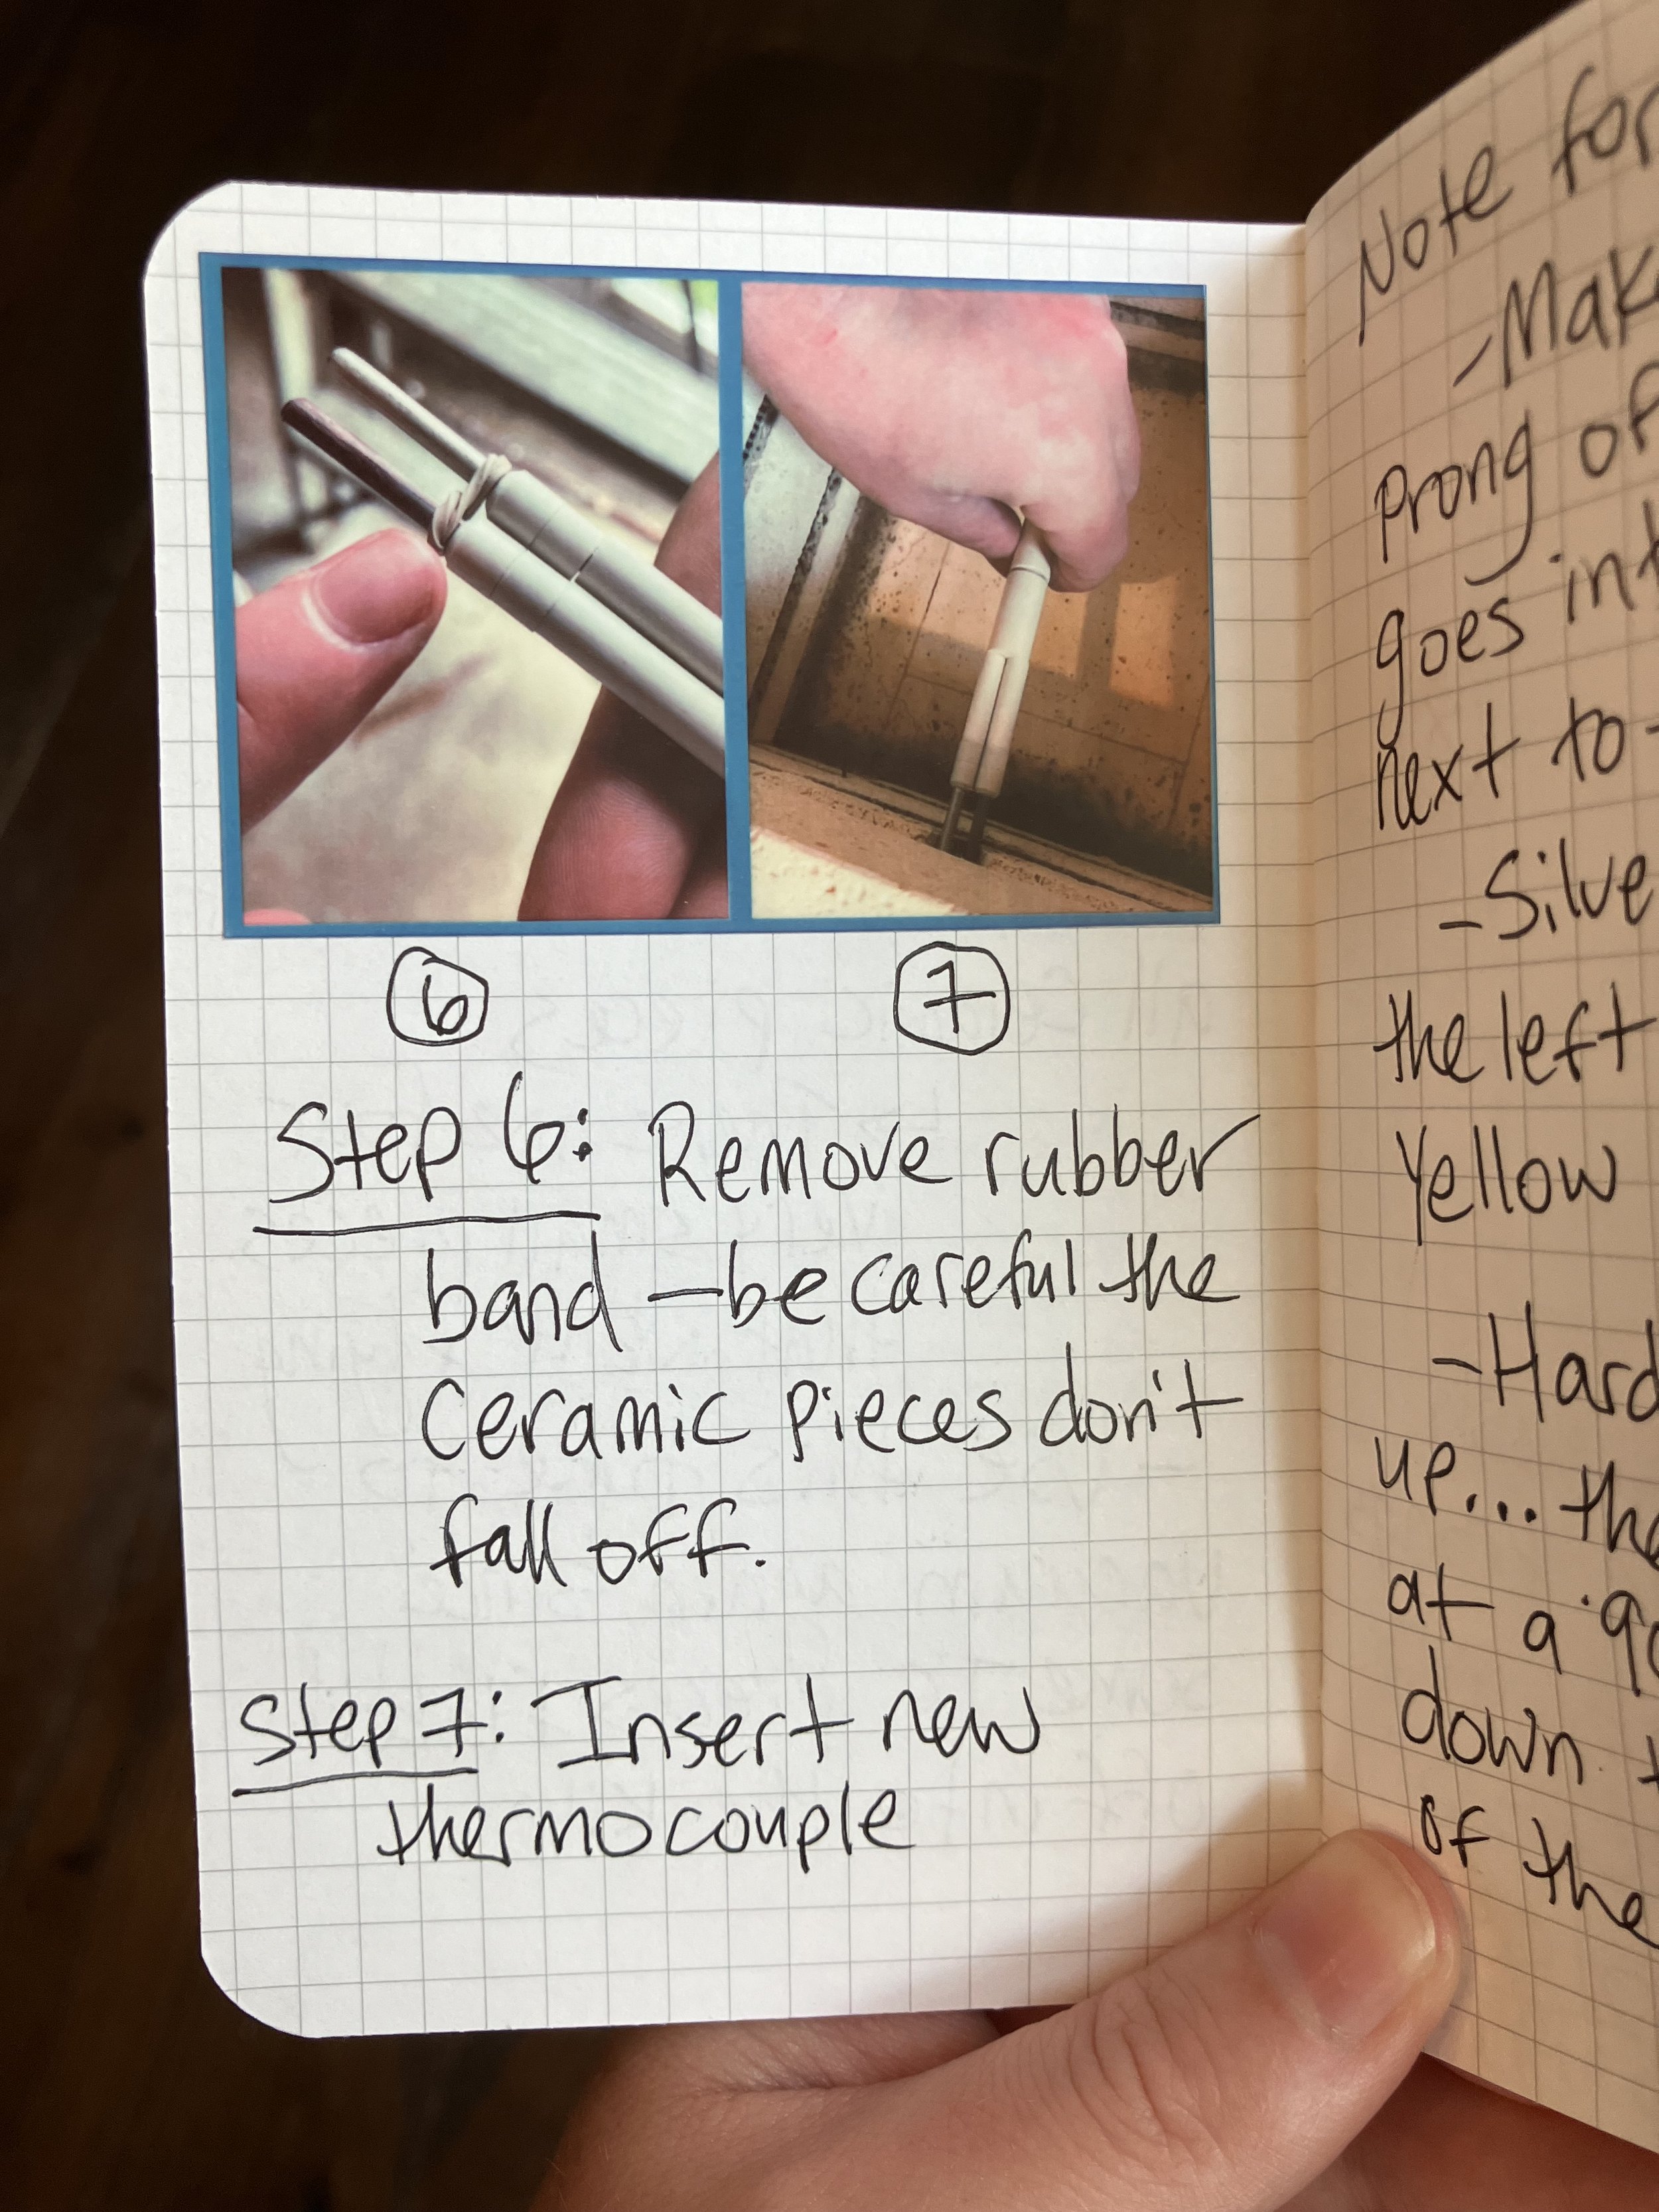
Step 6: Remove the rubber band holding on the new thermocouple ceramic pieces — be careful the ceramic pieces don’t fall off when it’s removed.
Step 7: Insert the new thermocouple.
Notes for Steps 6 & 7:
Make sure the red prong of the new thermocouple goes into the right hole next to the red wire.
The silver prong goes into the left hole next to the yellow wire.
It’s hard to mess this up. The thermocouple will be at a 90 degree angle pointed down towards the bottom of the kiln.
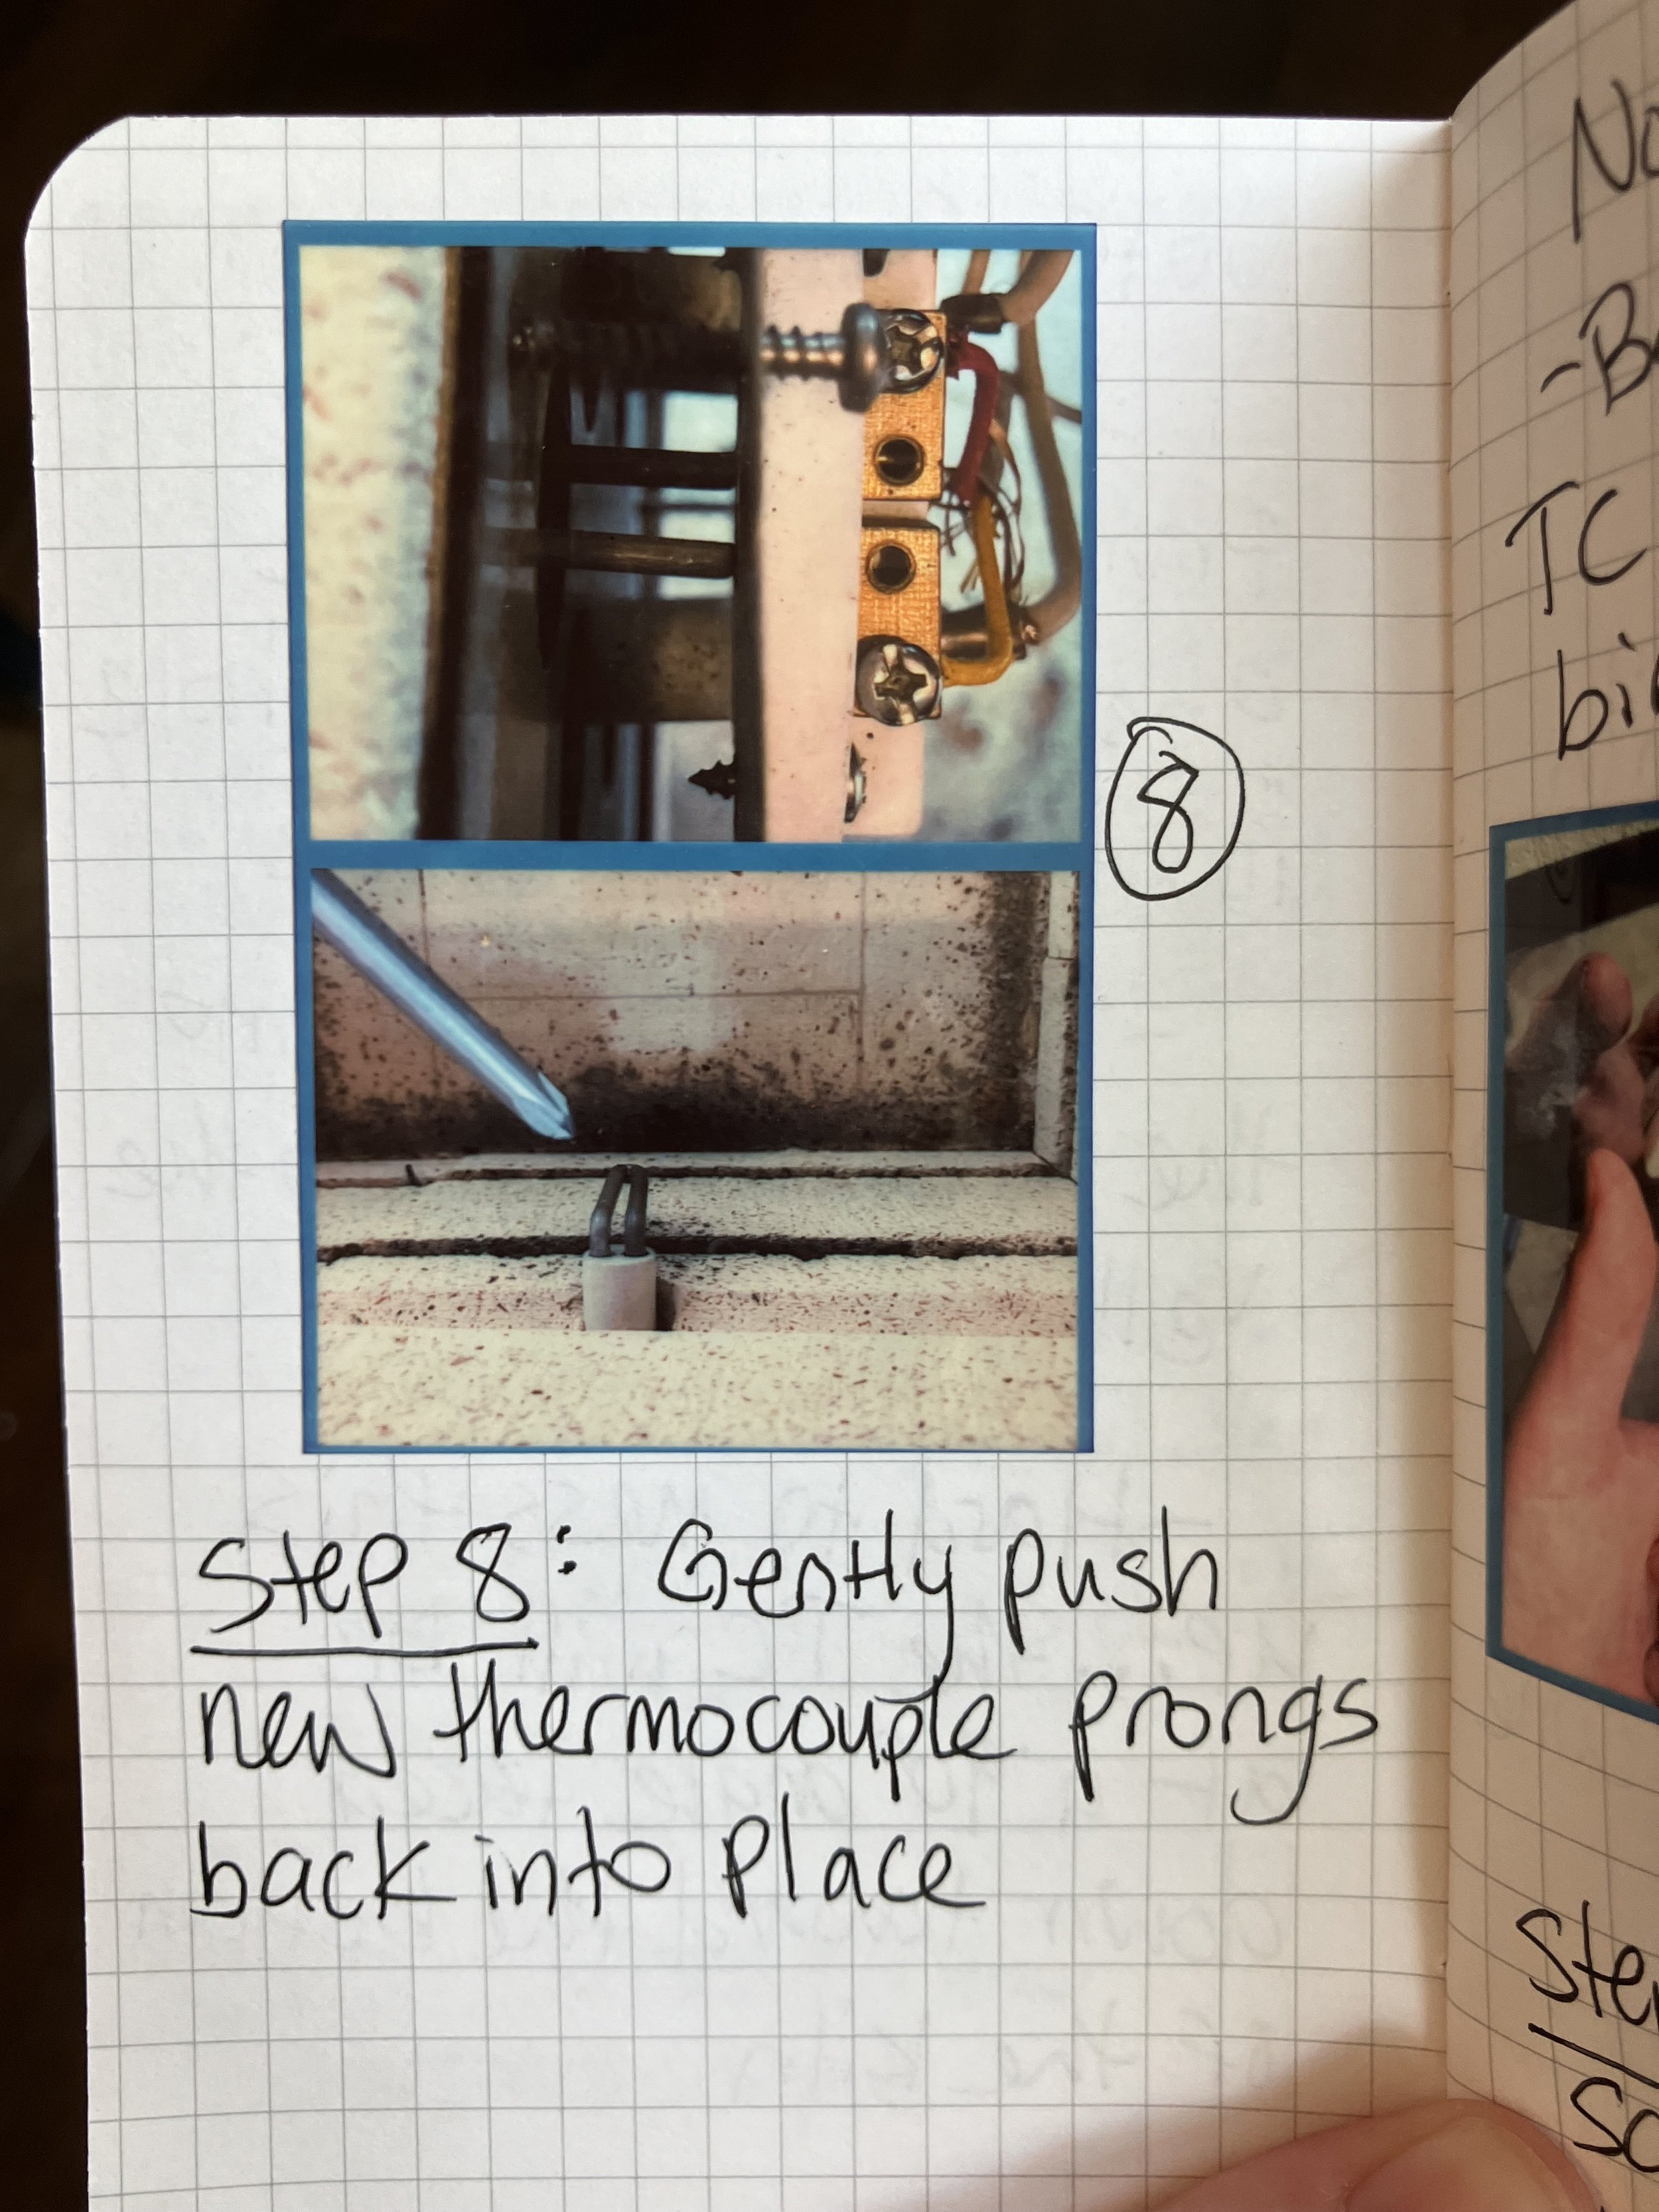
Step 8: Gently push the new thermocouple prongs back into place through the holes so they slightly protrude past the empty screw holes.
Note for Step 8: The bottom picture shows the new thermocouple in place (POV is bird’s eye view).

Step 9: Replace the two middle screws to hold the thermocouple in place.
Step 10: Close the red door and replace the two screws to ensure the door is shut — do not over-tighten.
Step 11: Plug in kiln and check to see if error code (tC FAIL) is no longer there.
Step 12: Test fire with cone 04 pyrometric cone.
Annnnd all done! The whole process probably would’ve taken under 10 minutes if I hadn’t unscrewed the wrong things. I know this post was super long but I hope it helps someone out there. The Skutt Firebox 8x6 LT is a fantastic kiln for small spaces, not too expensive, and plugs into a regular household electric outlet. A year later I still love it!